Getting Started with Sparki
Create the first portal, project, content item, and agenda so customers can book.
First customer path
Create one complete route from setup to booking before you tune the rest of the portal.
When these four pieces work together, customers can find a project, choose a time, and land in your team's follow-up flow.
Create the customer-facing environment for one office or brand.
Add the first listing, service, or appointment-led offer.
Place the project where customers can actually open it.
Add bookable appointment times and run a test booking.
The quickest way to make Sparki useful is to build one complete customer path. Create the portal, add one project, place that project in the portal content, and add a few appointment times to the connected agenda. After that, a customer can open your portal or plugin, find the project, and choose a time without your team arranging everything manually.
In Sparki, the technical word integration means the portal and plugin setup that belongs to your office or brand. Most realtors can think of it as the customer-facing Sparki environment: the portal is the full customer page, and the plugin is the version you can place inside your own website.
1. Set Up the Portal
Start in the dashboard and choose the option to create a new portal. Add the portal name, logo, notification email, and default language. This creates the foundation for both the portal and plugin.
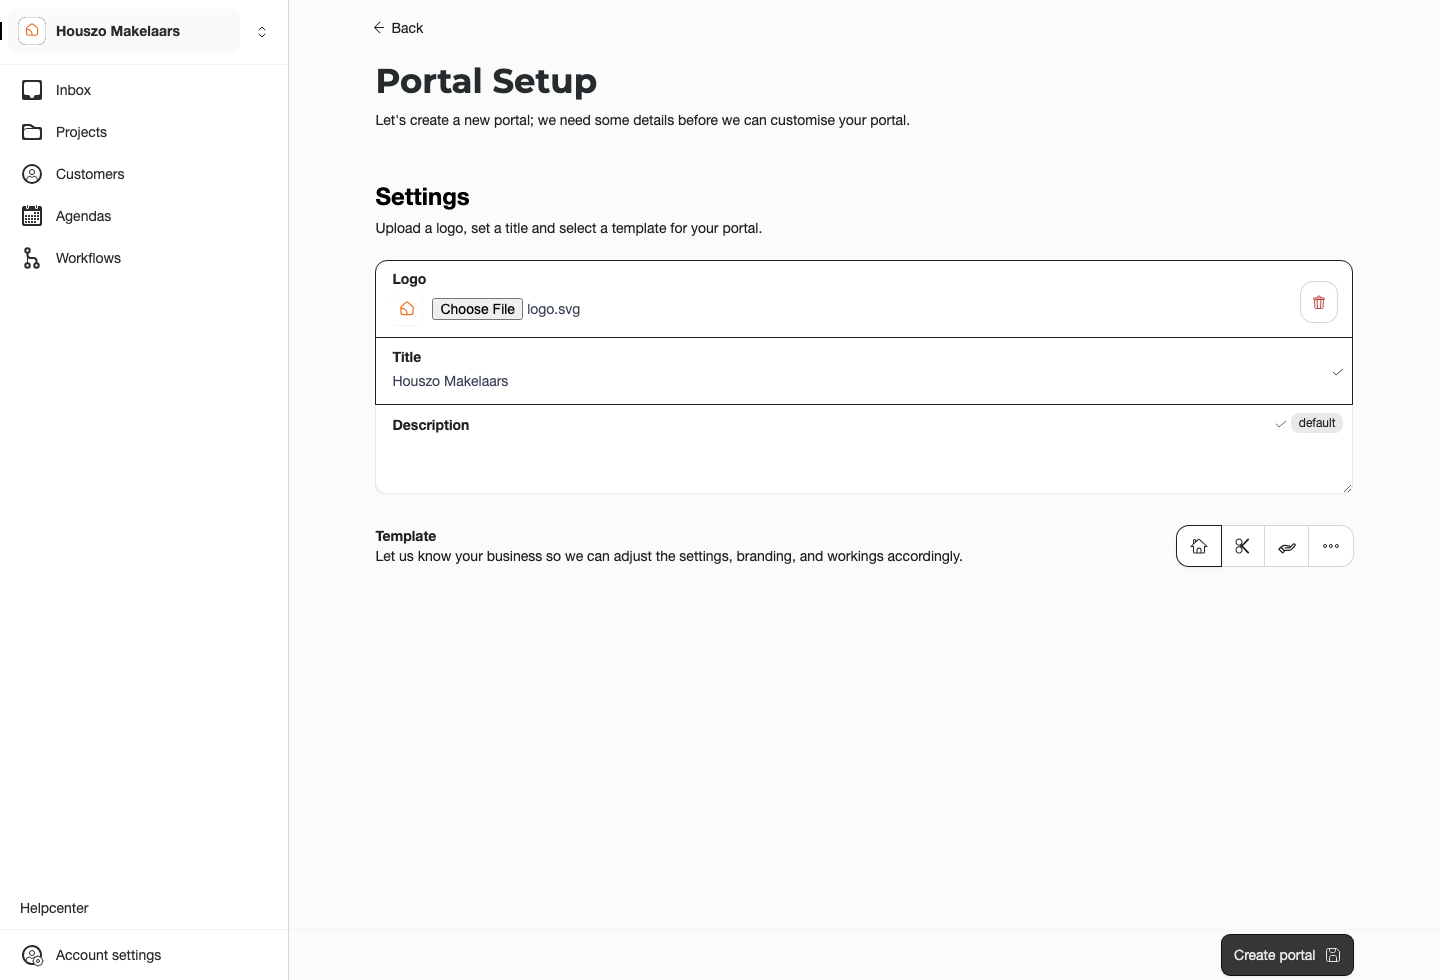
The portal setup screen is where the office name, logo, email, and language come together.
Once the portal is created, Sparki opens the dashboard for that portal. If your company manages more than one portal, always check that the correct portal is selected before editing projects, content, agendas, members, or billing.
2. Create the First Project
Open Projects and create a new project. For a listing, this can be a home for sale or rent. For a service, this can be something like a valuation, intake call, viewing request, or advisory appointment.
Add a clear title, description, price or service information, and a thumbnail image. If customers should book directly, keep appointment booking active and make sure the project has at least one connected agenda. Members need the Edit projects role to create or update projects.
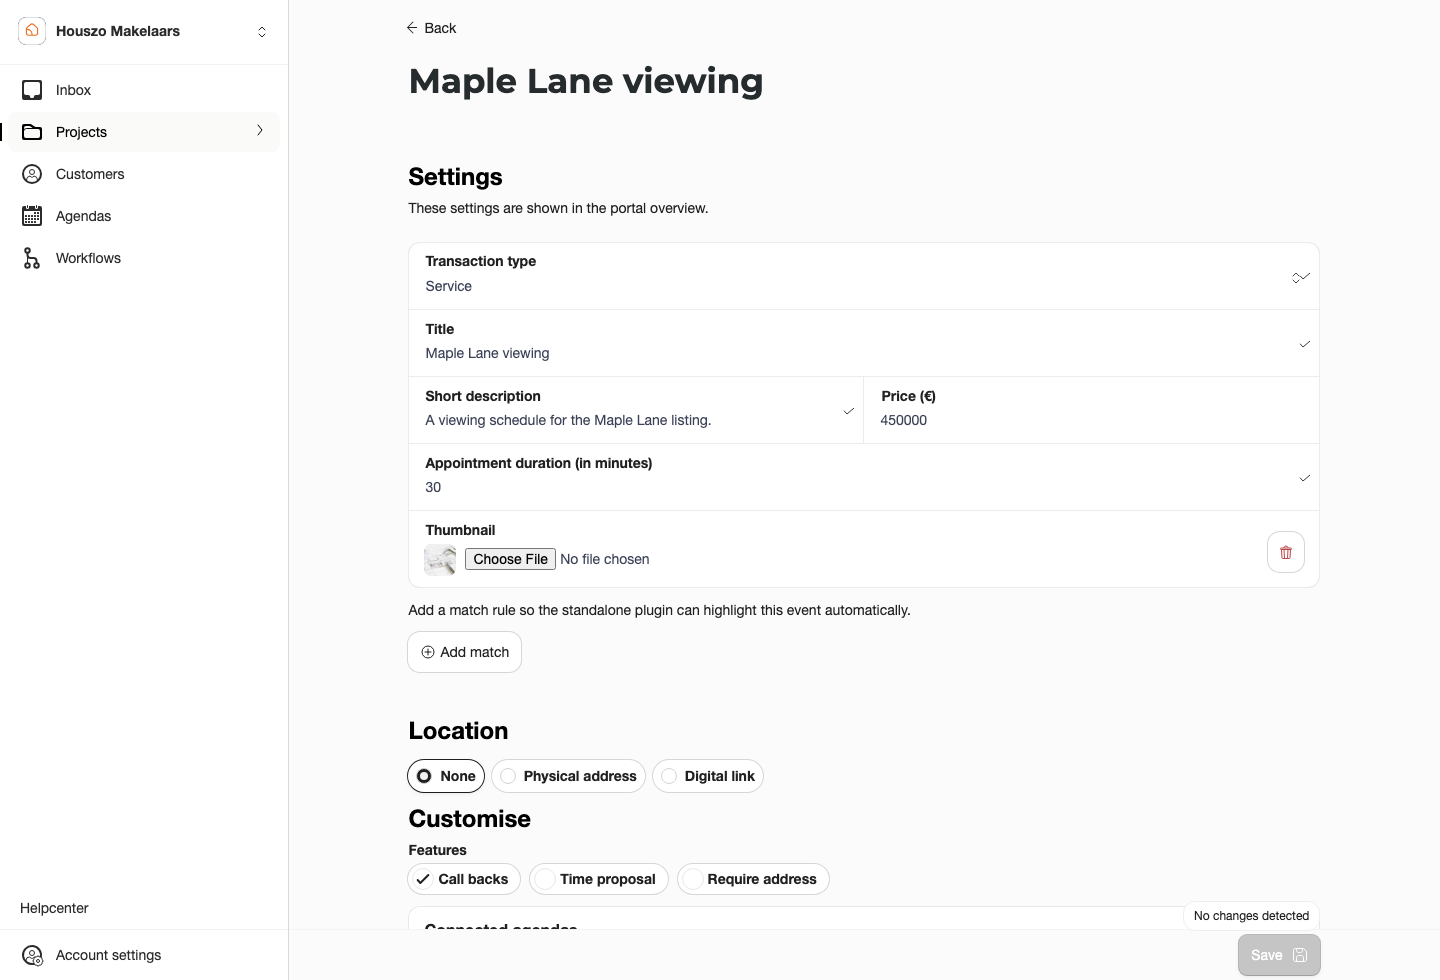
Project settings hold the details customers read and the connected agenda they can book.
3. Add the Project to Portal Content
Creating a project does not automatically mean every customer sees it as the first item in the portal. Open the portal menu and choose Content. Add a content item that points to the project, then choose the customer action you want: show the project details, start appointment booking, ask a question, or open another supported project action.
This step is important because Content is the customer-facing menu for the portal and plugin. Projects live in Projects, but customers discover them through portal content, project pages, direct links, the plugin, or website match rules.
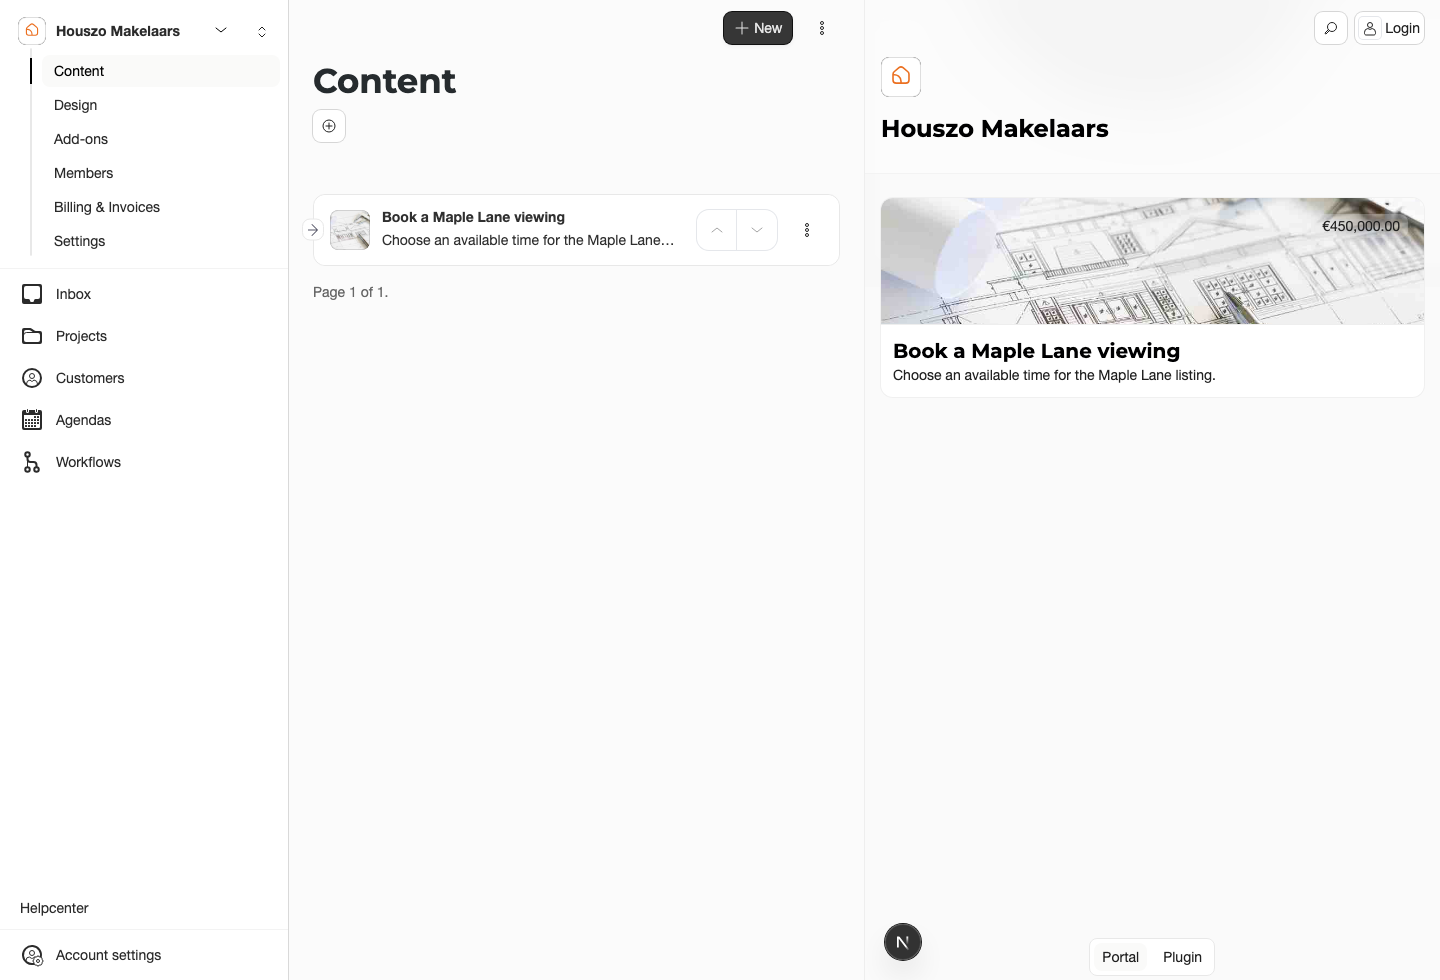
The Content page decides which projects and actions customers can open from the portal and plugin.
4. Fill the First Agenda
Open Agendas, choose the agenda connected to the project, and add the first available appointment slots. These slots become the times customers can choose from the portal, plugin, or a standalone appointment link.
For a simple first setup, add a few slots on upcoming days and test the customer flow yourself. Open the project from the portal or plugin, choose a time, and confirm that the appointment appears in Inbox and on the customer's timeline.
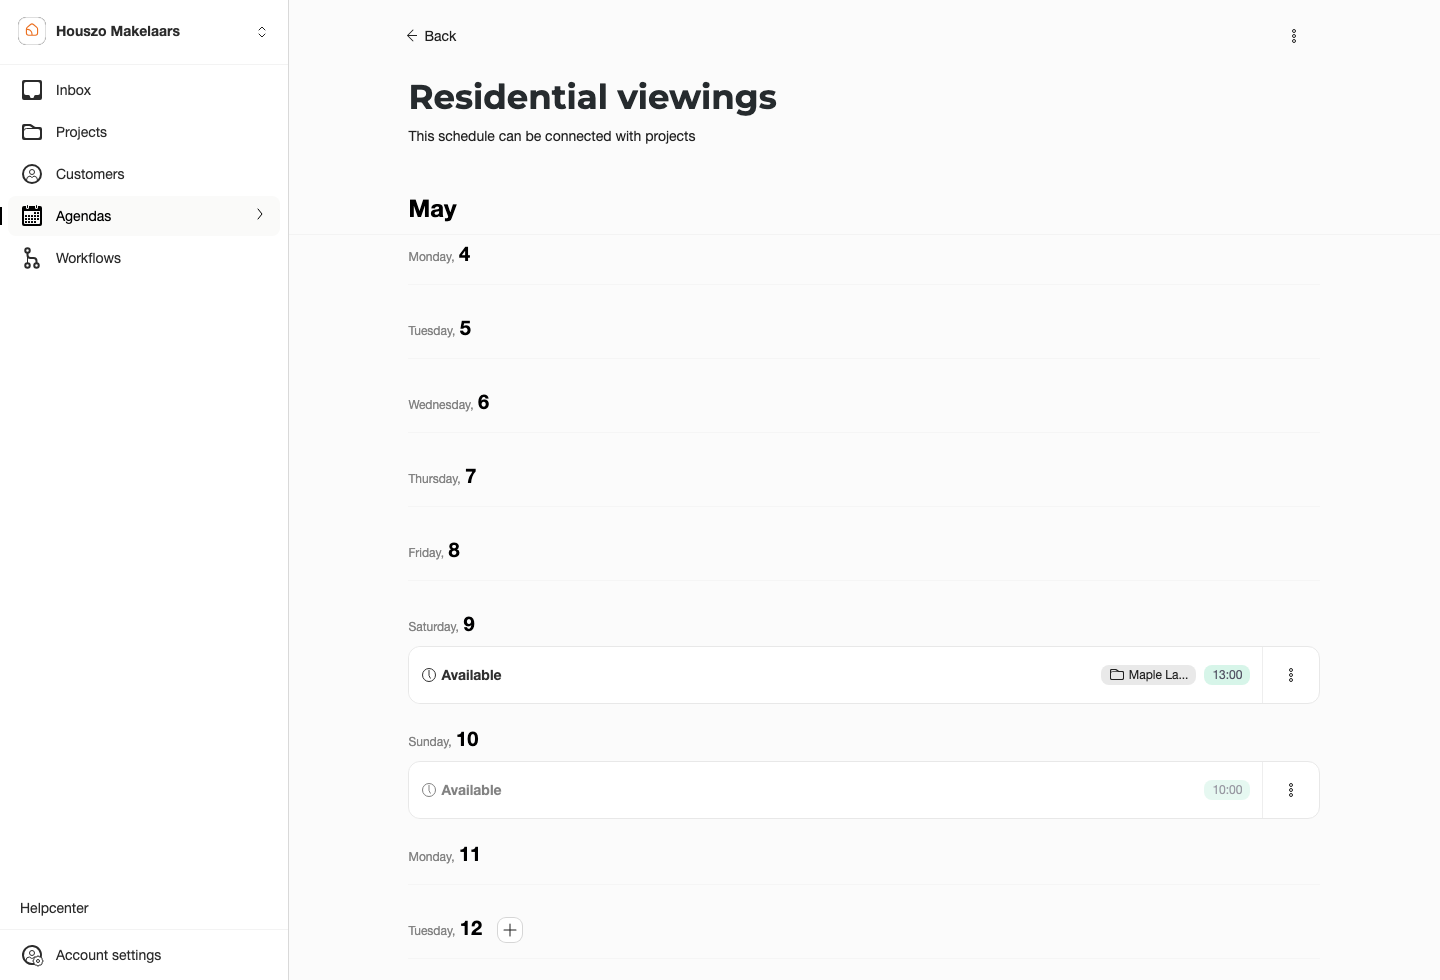
The agenda screen shows the first open appointment slots customers can choose.
A Good First Check
Before sharing Sparki with customers, open the portal like a customer would. Check that the portal name and logo are correct, the project appears in the right place, the appointment times are available, and a test interaction lands in Inbox. If all four pieces work together, your first customer path is ready.
Pilot Walkthrough Order
For realtor onboarding, show one small workflow at a time instead of demonstrating the whole platform at once. A clear pilot walkthrough is:
- Import or create one realistic property project.
- Connect the right realtor agenda and add bookable slots.
- Publish the project through portal content, the plugin, a website match rule, or a direct link.
- Book one customer appointment from the customer side.
- Confirm that the appointment appears in Inbox, on the customer timeline, and in the connected CRM agenda when CRM sync is enabled.
- Send one follow-up request, workflow, or document request so the team sees how customer tasks return to Sparki.
Keep each demo focused on cause and effect: make one change in the dashboard, then show what the customer or office sees next.