Agenda
Manage shared availability, separated project schedules, slots, and calendar sync.
Configuration
Agendas are the calendars Sparki uses to create appointment times.
A project connects to one or more agendas so customers can choose a time without your team checking availability by hand.
The easiest way to understand agendas is to look at them from two sides. From the project side, the realtor decides which agenda a customer may book. From the agenda side, the team manages the actual slots and confirmed appointments.
During onboarding, decide agenda setup together with one company administrator. Check which real CRM agendas are used, which realtor owns each agenda, and where new Sparki appointments should be written back in the CRM.
Project Side
Open Projects, choose a project, and go to the project settings. The Connected agendas section decides which agendas customers can use for that project.
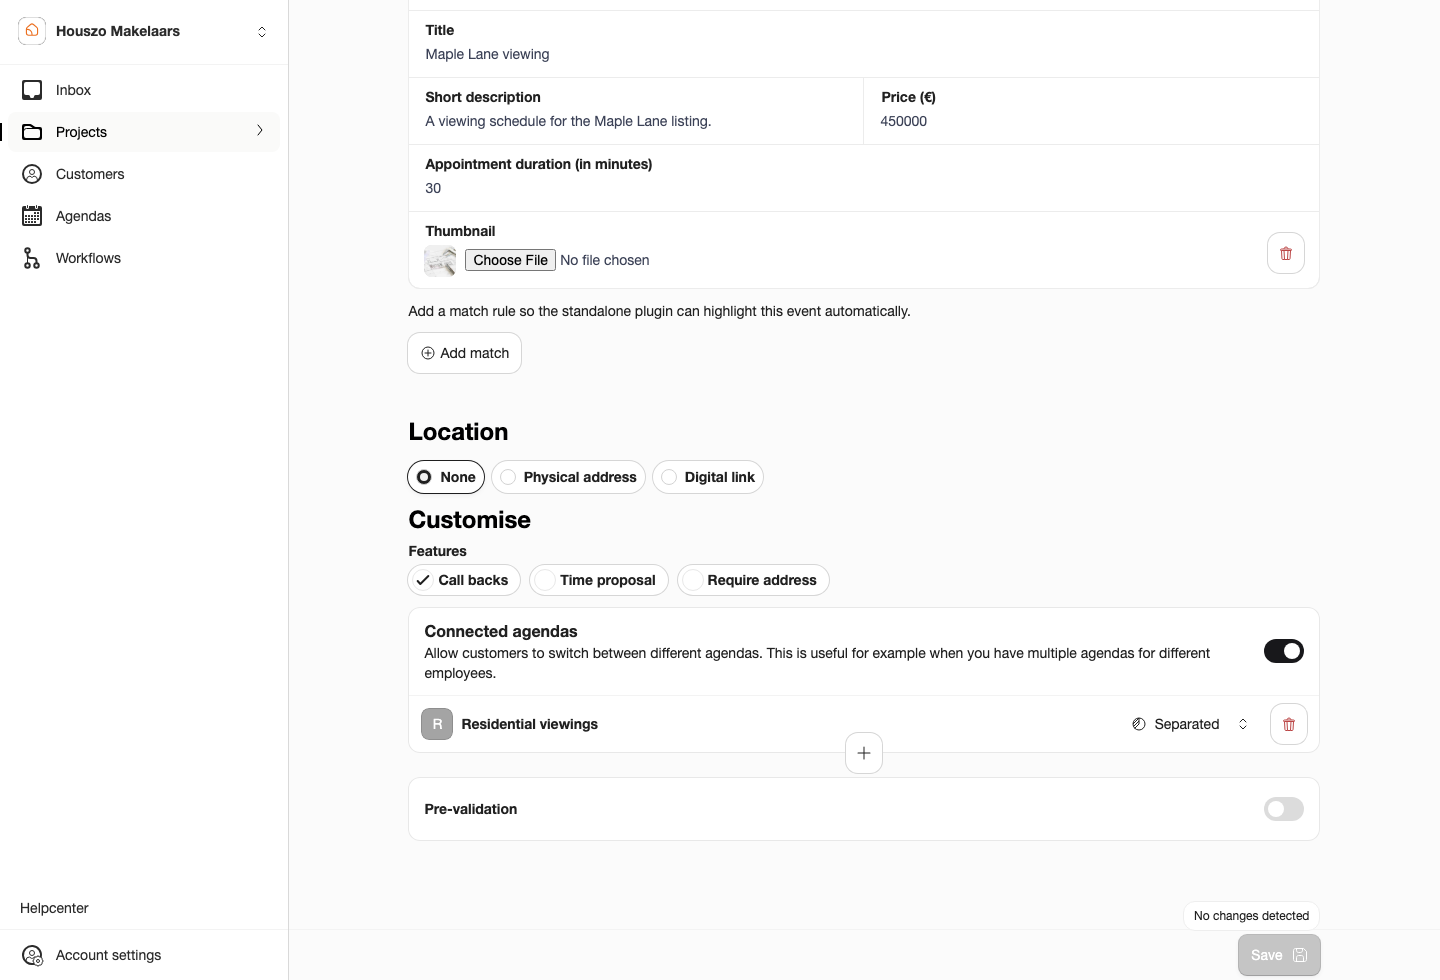
The Connected agendas section shows which calendar a customer can book and whether the project uses shared or separated availability.
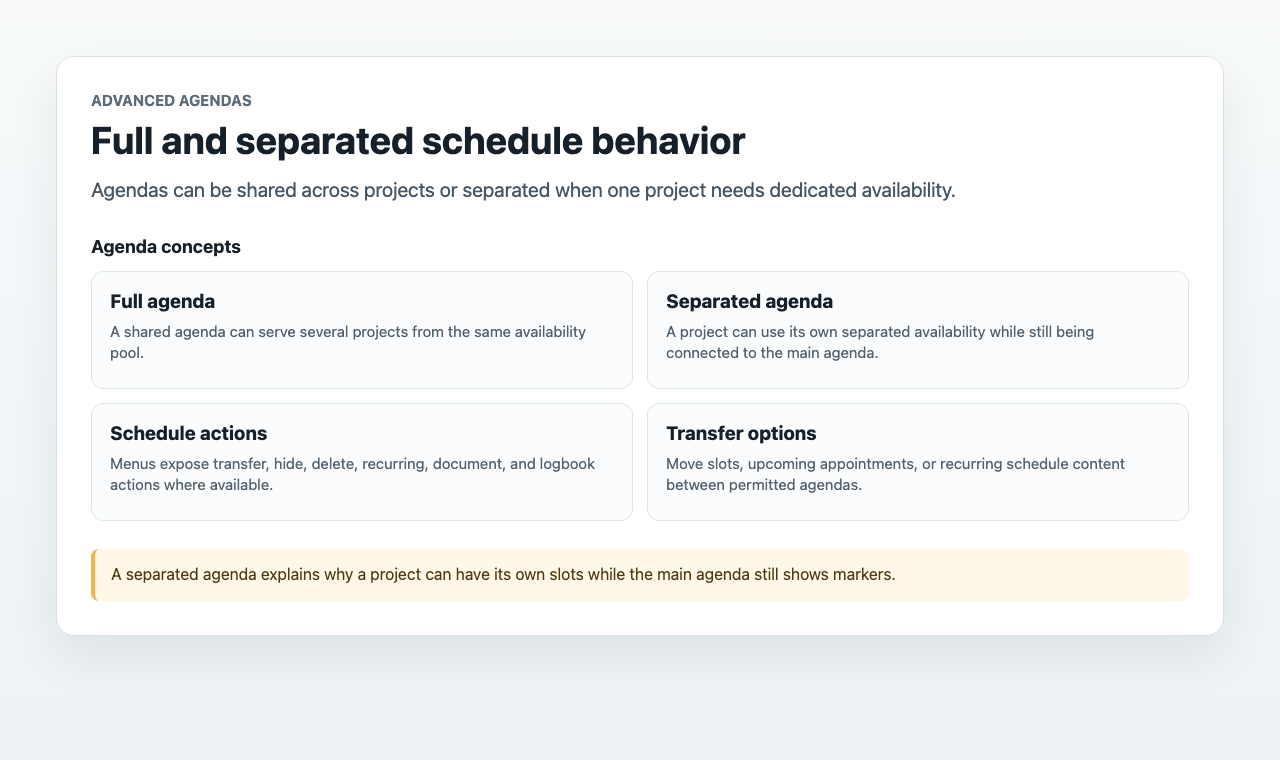
Full and Separated Agendas
A full agenda uses the main agenda directly and shares availability with other connected projects.
A separated agenda is project-specific. It keeps availability and appointments focused on one project.
A full agenda uses the selected agenda directly. Use it when the same availability can serve multiple projects or services, such as valuation visits, intake calls, or general advisory appointments. A slot on the full agenda may be bookable from several connected projects, depending on how those projects are configured.
A separated project agenda creates project-specific availability under the connected agenda. Use it when slots should only be available for one project, such as open-house blocks for one house or apartment. If a slot belongs to a separated project agenda, customers can only book it for that project.
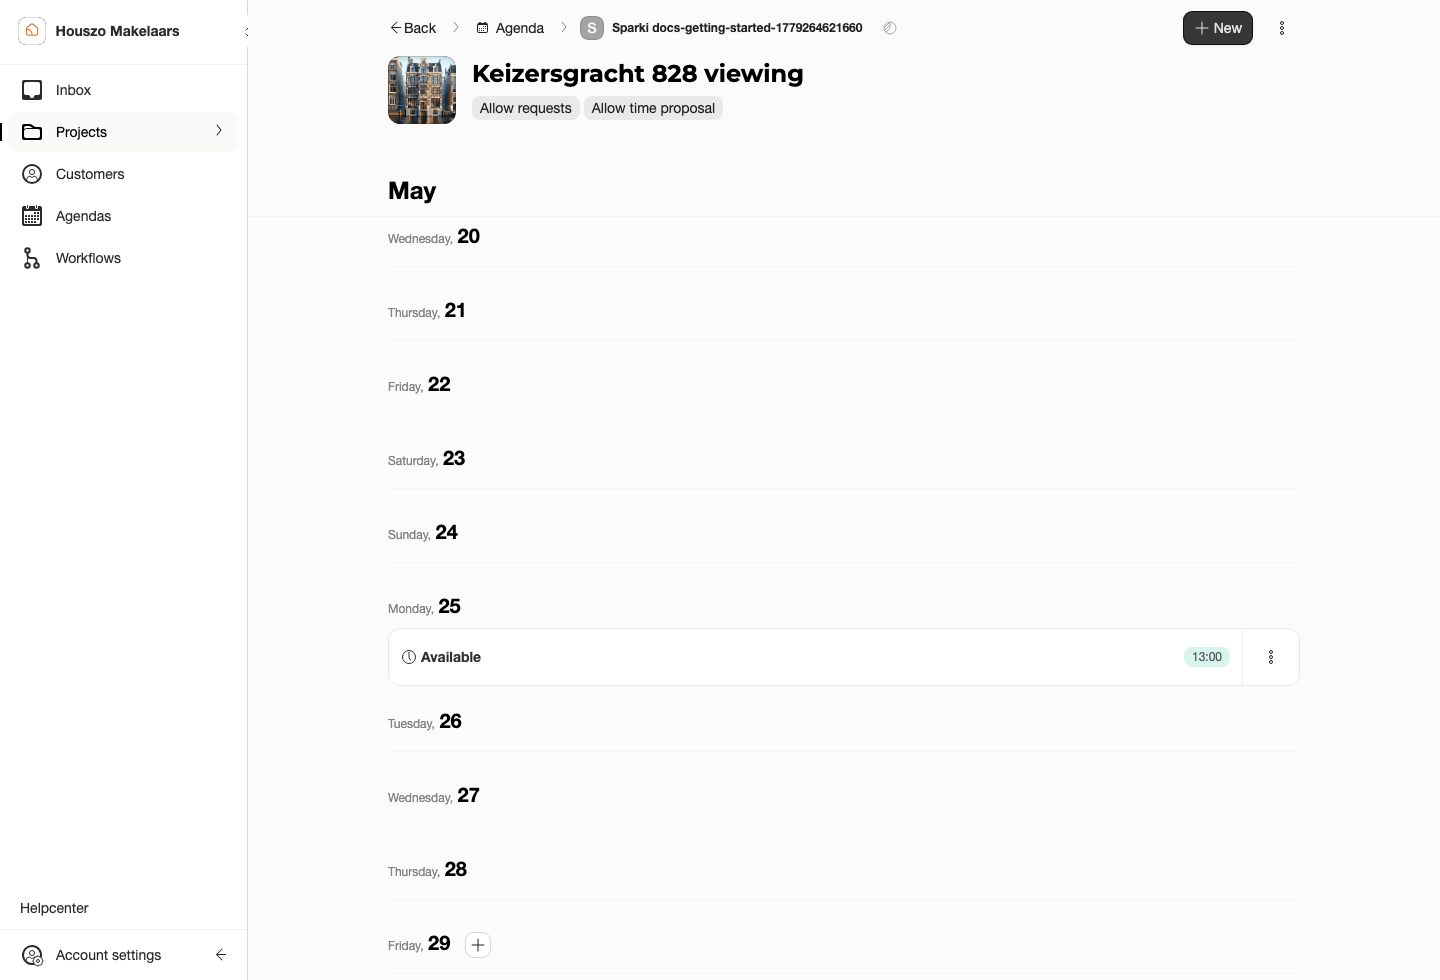
The project side shows availability for the selected project and its connected agenda.
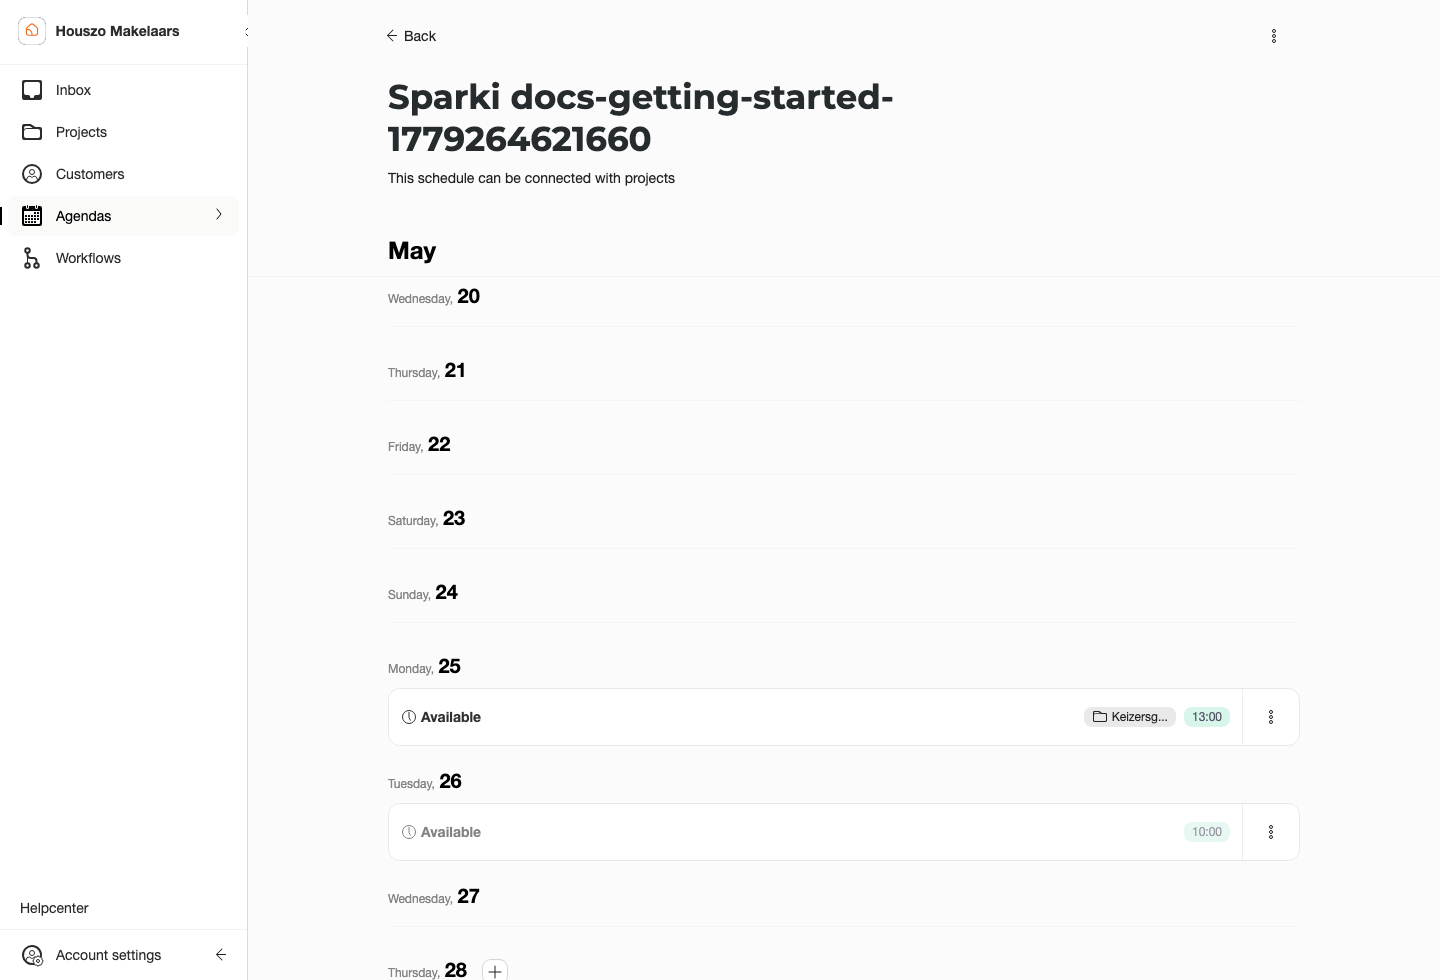
Agenda Side
Open Agendas and choose an agenda to manage availability from the calendar side. If a slot belongs to a separated project schedule, Sparki shows a small project marker on the parent agenda.
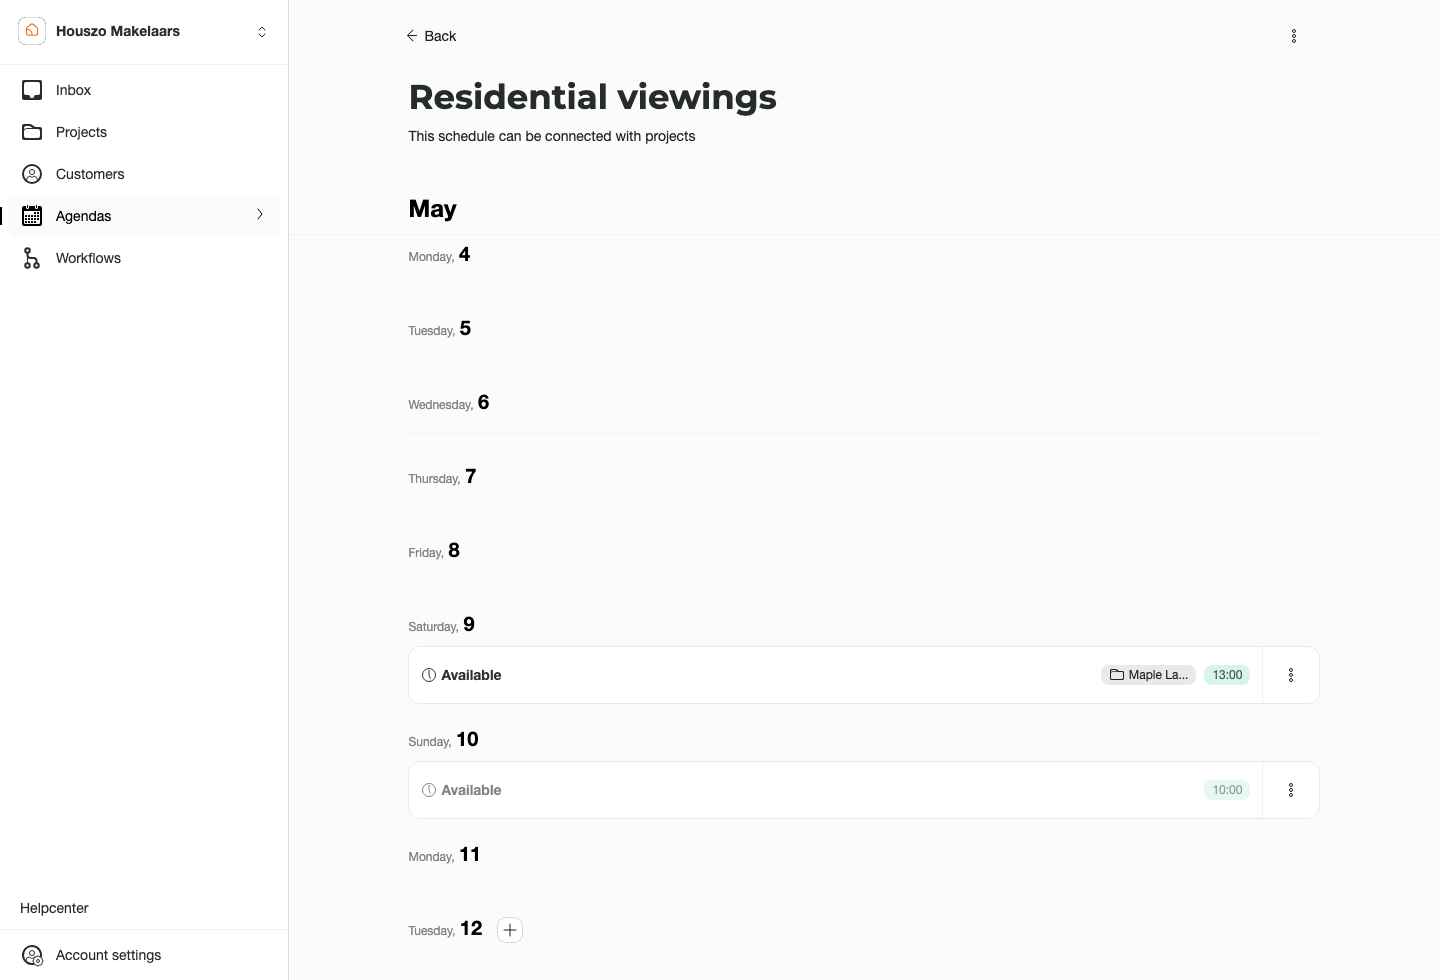
The agenda view is where the team manages availability from the calendar side.
Sparki supports one-off slots and recurring weekly slots. Use one-off slots for specific viewing moments. Use weekly recurring slots when the same availability should repeat every week.
Project-specific slots are marked in the central agenda so the team can see which project owns the availability.
Schedule Actions
Members with access can use schedule action menus for transfer, hide, delete, recurring actions, attached project documents, and the logbook. Members without the right access should still see unavailable actions in a disabled state so the workflow is understandable.
Use transfer actions when slots, upcoming appointments, or recurring schedule content need to move between agendas. The member needs access to the relevant source and target agendas.
Duration Rules
Appointment duration should be clear before customers book. The minimum supported duration is 15 minutes, and durations should use supported increments. If an entered duration is corrected automatically, the guide text and validation message should explain what value is allowed.
Calendar Sync
Calendar sync is available on eligible paid plans. In the agenda header, Connect your agenda lets you connect appointment information outward. Some portals can also connect parent agendas to Realworks when Realworks is enabled.
When a customer books an appointment, the appointment is linked to the relevant project, service, or property. For supported CRM add-ons, Sparki can synchronize the appointment back to the connected CRM agenda together with the linked object and scheduling information.
Calendar Subscription
Calendar subscription gives you a read-only calendar feed of your Sparki appointments. Open Add-ons, choose Google Calendar, Apple Calendar, or Outlook, and copy the subscription URL there.
Use the schedule picker to decide whether the link should include All schedules or one specific agenda before you copy it.
The add-on settings can generate one live subscription URL for all agendas or for a selected agenda.
If you want a link for one agenda only, open Agendas, choose the agenda, open the settings menu, and select Connect calendar.
The agenda-specific modal skips the picker and creates a subscription URL for the current agenda only.
Install in Outlook
The easiest Outlook flow is Outlook on the web:
- Copy the Sparki subscription URL.
- Open Calendar in Outlook.
- Choose Add calendar.
- Choose Subscribe from web.
- Paste the Sparki URL, choose a name if Outlook asks for one, and confirm with Import.
After Outlook subscribes, the Sparki agenda appears as a read-only internet calendar. Updates are not always instant, so changes can take a little time to show in Outlook.
Install in Google Calendar
Use the same Sparki subscription URL in Google Calendar:
- Copy the Sparki subscription URL.
- Open Google Calendar in your browser.
- In the left sidebar, next to Other calendars, choose +.
- Choose From URL.
- Paste the Sparki URL and choose Add calendar.
The Sparki agenda appears as a read-only subscribed calendar under Other calendars. Google Calendar refreshes subscribed calendars on its own schedule, so updates can take a while to appear. If you want separate calendars for separate Sparki agendas, copy an agenda-specific URL from Agendas > Connect calendar and add each URL separately.
Install in Calendar for Mac
Use the same Sparki subscription URL in the macOS Calendar app:
- Copy the Sparki subscription URL.
- Open Calendar on your Mac.
- Choose File and then New Calendar Subscription.
- Paste the Sparki URL and choose Subscribe.
- Give the calendar a recognizable name, choose where to store it, and set Auto-refresh to the interval you prefer.
- Choose OK to add the subscription.
The Sparki agenda appears as a read-only subscribed calendar in Calendar for Mac. If you want separate calendars for separate Sparki agendas, copy an agenda-specific URL from Agendas > Connect calendar and repeat the steps for each agenda.
Plan and Role Notes
The Free plan includes one default agenda and does not include calendar sync. Pro includes 3 agendas and calendar sync. Custom includes up to 10 agendas by default unless your agreement says otherwise.
Members need Edit portal settings to create agendas and agenda-specific edit access before changing availability for a particular agenda.
For member examples and disabled action behavior, use the Roles & Permissions guide.