How to Integrate
Choose between the portal and plugin, install the right website route, and verify the customer path.
Website connection
Use the portal when customers need the full Sparki experience. Use the plugin when they should act from your own website page.
Both routes use the same portal setup behind the scenes, so content, projects, design, and customer interactions stay connected in the dashboard.
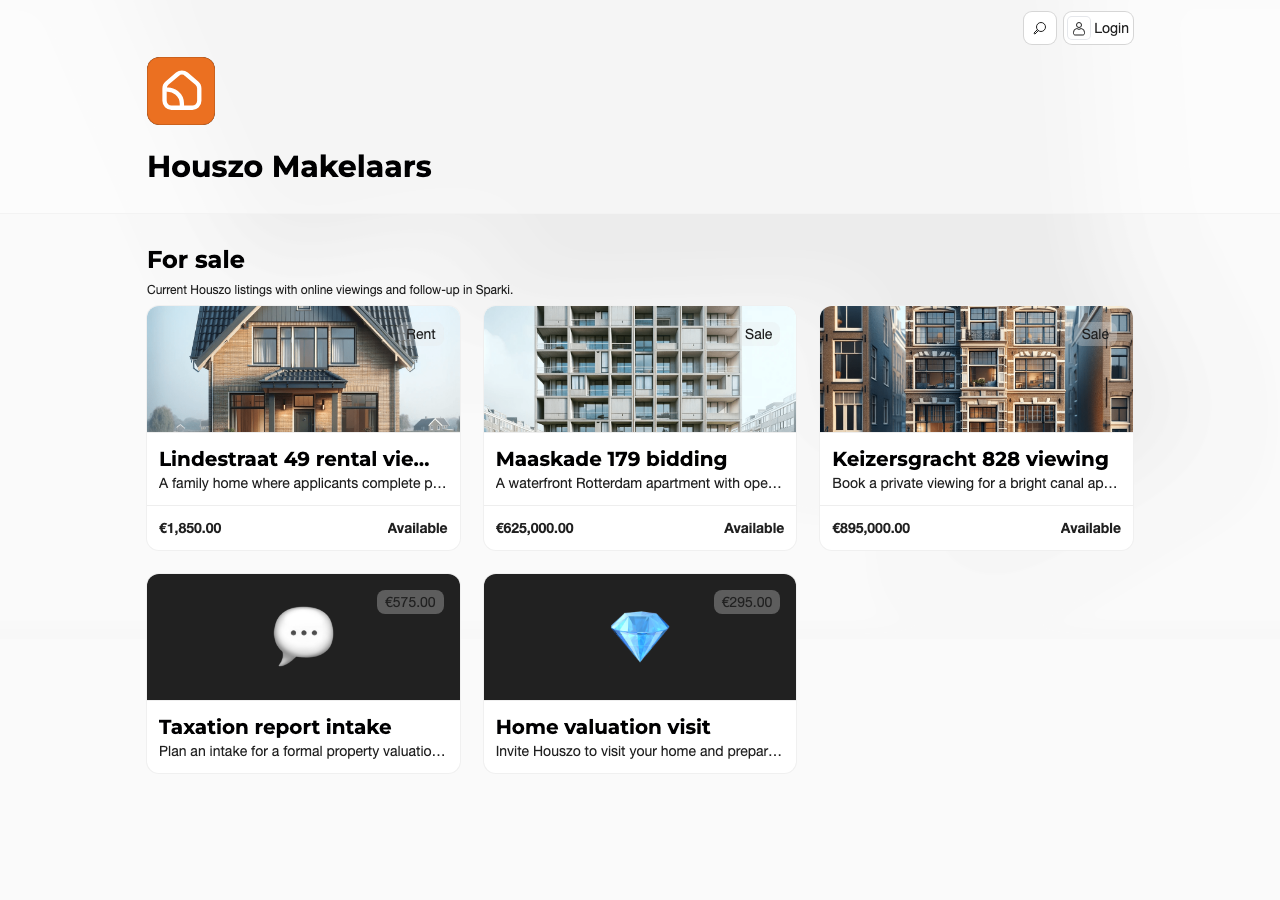
A full public Sparki page for browsing projects, services, workflows, appointment options, and customer account actions.
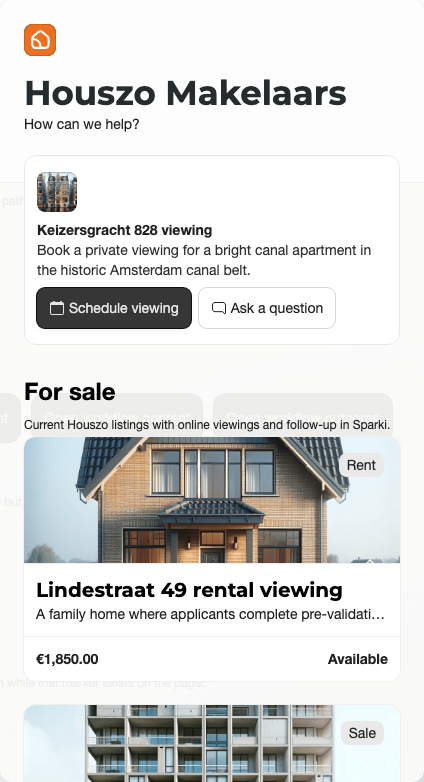
An embedded website entry point for booking, messages, bids, workflows, and project actions on the page the customer is already reading.
Sparki offers two main ways to bring customer actions to your website. You can share or link to the portal, which gives customers the full Sparki portal experience. You can also install the plugin, which embeds Sparki on your own website pages. Both are managed from Content by opening the settings menu and choosing Installation.
For detailed plugin display rules, custom website buttons, auto-open behavior, and hidden or secure pages, use the Plugin guide.
Choose the Right Route
Use the portal when a customer should browse more than one item, when you want one reliable link for campaigns or email signatures, or when you need QR codes for printed material.
Use the plugin when the customer is already on a relevant website page. For a real estate team, the plugin is strongest on listing, rental, valuation, service, or campaign pages where the next action should be immediate.
- Portal link
- Standalone booking
- QR code
- JavaScript snippet
- Framer
- Google Tag Manager
- WordPress
Install the Plugin
Open Content, open the settings menu, choose Installation, then choose the plugin website method that matches your stack.
With the JS snippet method, copy the full Sparki snippet into the website template, footer include, layout file, or global custom code area that loads on the relevant pages. Save, deploy, then open the live page and use Verify live website in Sparki. In the verifier, submit the live page with Verify.
With Framer, copy the full Sparki snippet into the site-wide custom code area, preferably the end-of-body slot. Republish the Framer site, open the live page, and use Verify live website. In the verifier, submit the live page with Verify.
With Google Tag Manager, create a Custom HTML tag, paste the Sparki snippet, choose the trigger, preview with Tag Assistant, publish, then verify from Sparki.
With WordPress, install and activate the Sparki WordPress plugin or upload the plugin zip if you received one. Complete the connection flow in WordPress, then return to Sparki and verify the live site.
Share the Portal
Open Content, open the settings menu, choose Installation, and copy the portal link when customers should enter the full Sparki experience. Use it in website buttons, customer emails, campaigns, social posts, QR codes, or office follow-up messages.
Use Standalone when a customer should go straight into one appointment flow. Use QR-codes for brochures, office windows, signs, direct mail, or a specific project handout.
Match Website Pages to Projects
For listing websites, match rules help Sparki understand which project belongs to which website URL. When a match rule recognizes a listing page, the plugin can open the right project action instead of showing a generic menu.
Keep match rules simple, test them on live URLs, and verify the plugin after each website publish. A good test is to open a live listing page, start a harmless message or booking, and confirm that the activity appears in Inbox or on the customer timeline.
Plan and Role Notes
Portal links and QR codes are available from the installation area for the active portal. Plugin access and standalone appointment flows are available on eligible paid plans.
Members usually need Edit portal settings to manage installation. They may also need Edit portal and plugin content when the installation depends on what customers see inside the portal or plugin.