Plugin
Control how the Sparki plugin appears and which customer flow it opens on a website.
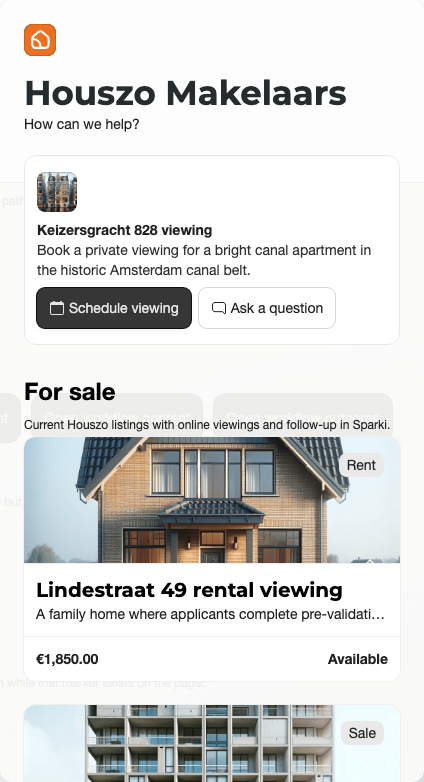
Website plugin
The plugin lets customers book, ask questions, bid, or complete workflows from your own website.
Use Installation from Content to install the plugin, verify the live website, and decide whether the default button or custom website buttons should open Sparki.
Common Website Flows
The plugin can open a general appointment flow, an appointment request flow, a highlighted project, a project-specific question form, a linked workflow, a pre-validation flow, or a bidding flow when the project supports it.
Use website match rules when a listing page should open the matching project. Use standalone or custom button actions when your own website design already has a clear call to action.
Floating Button and Custom Buttons
The default floating button is useful when every visitor should see that they can contact or book with your team. If the website already has strong buttons, hide the floating button and connect your own buttons to Sparki actions instead.
The plugin should stay hidden on pages you explicitly exclude. It should also disappear automatically on pages with password fields so it does not interfere with login, checkout, or secure forms.
Booking, Questions, and Workflows
For booking, the plugin can start from a general schedule or from a matched project. For questions, it can open a general message form or a project-specific question. For workflows and pre-validation, it opens the configured questions before sending the customer to the correct result.
If a workflow contains file-upload fields, customers can upload files for those fields only. A workflow without file-upload fields should not expose a file uploader.
Verify After Publishing
After changing the plugin snippet, Framer code, Google Tag Manager setup, WordPress setup, match rules, or button behavior, publish the website and use Verify live website from Content > settings menu > Installation. In the verifier, submit the live page with Verify.